Tired of store-bought garlic powder that tastes flat and uninspired? Imagine a pantry staple so vibrant, so potent, it elevates every dish it touches. That’s the magic of homemade garlic powder! Far from an intimidating culinary feat, learning how to make garlic powder at home is surprisingly simple and incredibly rewarding. Not only does it offer an unparalleled depth of flavor that commercial versions can’t touch, but it’s also a fantastic way to utilize an abundance of fresh garlic, ensuring nothing goes to waste.
Ditch the chalky, bland imposters and discover how easy it is to create your own potent, aromatic garlic powder from scratch. This comprehensive guide will walk you through every step, from selecting your garlic to achieving that perfect powdery consistency, guaranteeing a superior seasoning experience.
Why Go Homemade? The Unbeatable Flavor and Benefits
The difference between homemade and store-bought garlic powder is like night and day. Commercial garlic powders often contain anti-caking agents and lose much of their volatile compounds during processing and storage, resulting in a muted, almost dusty flavor profile. Homemade garlic powder, on the other hand, captures the fresh, pungent, and savory essence of garlic in its most concentrated form. It’s brighter, more aromatic, and boasts a powerful kick that truly stands out in your cooking.
Beyond flavor, there are several compelling reasons to embrace the DIY approach:
- Unmatched Flavor Profile: Experience the true, intense flavor of garlic without the stale, generic taste of mass-produced options. Your homemade powder will infuse your dishes with a richness that is simply incomparable.
- Nutritional Value: When dried at lower temperatures, especially in a dehydrator, you can preserve more of garlic's beneficial nutritional properties, antioxidants, and active enzymes. Garlic is renowned for its anti-bacterial, anti-fungal, and immune-boosting qualities. Drying below 118°F (48°C) helps retain these delicate compounds.
- Control Over Ingredients: By making your own, you control exactly what goes into it – just pure garlic, no mystery additives or preservatives.
- Cost-Effective: If you have an abundance of garlic from a garden harvest, a farmer's market haul, or just a great sale, transforming it into powder is a smart and economical way to preserve it for long-term use. It prevents spoilage and provides a versatile seasoning that can last for months.
- Versatility: Homemade garlic powder isn't just for seasoning meat or vegetables. It's a foundational ingredient for custom spice blends, homemade garlic salt, rubs, marinades, and even infusing oils.
Whether you’re dealing with an excess of robust hardneck garlic, sweet softneck varieties, or even tender green garlic stems, making powder is an excellent preservation method. This versatile seasoning will quickly become a favorite in your kitchen.
Gather Your Garlic: Preparation is Key
The journey to perfect garlic powder begins with proper preparation. This stage is crucial for ensuring even drying and optimal flavor.
Choosing Your Garlic
The beauty of making your own garlic powder is that almost any type of garlic will work! However, there are a few considerations:
- Hardneck vs. Softneck: If you're growing your own, hardneck varieties tend to have a shorter shelf life (a few months) compared to softneck types (up to 10 months). This makes hardneck garlic an ideal candidate for drying and preserving, freeing up your softneck garlic for fresh eating.
- Green Garlic: Don't overlook green or spring garlic! This immature garlic, including its tender green stems, can also be dried and powdered, offering a unique, milder garlic flavor.
- Quantity: For a small batch, a single head of garlic (typically 8-12 cloves) is sufficient. For larger quantities, scale up as needed. Remember, fresh garlic reduces significantly in volume when dried and powdered.
Peeling Perfection: Techniques for Efficiency
Peeling garlic can be the most tedious part of the process, especially for large batches. Here are a few methods:
- Separate the Cloves: First, gently break apart the entire head of garlic into individual cloves.
- Finger Peel: For just a few cloves, simply use your fingers to peel away the papery skin.
- Knife Press Method: Place a garlic clove on your cutting board. Lay the flat side of a chef's knife directly on top of the clove. With the heel of your hand, gently press down on the knife blade until you hear or feel the skin crack. The key is to apply just enough pressure to loosen the skin without crushing the clove, which you want to keep intact for slicing. Once cracked, the skin should peel away easily with your fingers.
- Bowl Shake Method (for larger quantities): Place multiple cloves into two sturdy metal bowls of the same size. Invert one bowl over the other, creating a sealed sphere. Shake vigorously for 15-30 seconds. The skins will loosen and often fall off.
Pro Tip: Garlic's natural oils can sometimes cause a mild burning sensation on sensitive skin, especially when handling many cloves. Consider wearing thin gloves for larger batches to protect your hands.
Slicing for Success: Thin and Even
Once peeled, prepare your cloves for drying:
- Trim the Root Ends: Use a sharp knife to slice off the tough, woody root end of each clove. These parts are not ideal for flavor and can create a gritty texture in your powder.
- Thin and Even Slices: This is arguably the most critical step for successful drying. Using a sharp chef's knife or a mandoline slicer (with extreme caution and a guard!), slice each clove as thinly and evenly as possible. Aim for slices no more than 1/8 inch (3 mm) thick. Uneven slices will lead to uneven drying, with some pieces burning while others remain pliable. The thinner the slices, the faster and more thoroughly they will dry.
Drying Your Garlic: Dehydrator vs. Oven
With your garlic perfectly sliced, it's time for the drying phase. You have two primary options: a food dehydrator or your oven. Each has its advantages.
The Dehydrator Advantage (Recommended)
A food dehydrator is the ideal tool for making garlic powder, offering consistent, low-temperature drying that preserves flavor and nutrients.
- Ease and Consistency: Simply arrange your thinly sliced garlic in a single layer on your dehydrator trays. Set the temperature to a low setting, typically between 100-110°F (38-43°C). Then, you can truly “set it and forget it” with minimal intervention. This ensures even and consistent drying without the risk of burning.
- Nutrient Preservation: As mentioned, drying at these lower temperatures helps to preserve garlic's beneficial enzymes and antioxidants, offering a healthier product.
- Energy Efficiency: Dehydrators are designed for long, low-heat drying, making them relatively energy-efficient for this purpose.
Drying time in a dehydrator can range from 6 to 12 hours, or even longer, depending on the thickness of your slices and your machine's efficiency. For detailed instructions on both methods, check out our guide on Preserve Garlic's Goodness: Make Powder With Dehydrator or Oven.
Oven Drying: A Viable Alternative
If you don't own a dehydrator, your oven can still get the job done, though it requires a bit more vigilance.
- Preparation: Preheat your oven to its lowest possible setting, ideally no more than 150°F (65°C). Line a baking sheet with parchment paper to prevent sticking. Arrange your garlic slices in a single layer, ensuring no overlap.
- Drying Process: Place the baking sheet in the oven. To allow moisture to escape and prevent the garlic from baking, prop the oven door open slightly (e.g., with a wooden spoon). This also helps maintain a lower internal temperature.
- Monitoring: Stir the garlic every 30-60 minutes to ensure even drying and prevent sticking or burning. Oven drying can take anywhere from 2 to 6 hours or more, depending on your oven's temperature and the garlic's thickness.
- Challenges: Ovens can be less consistent in temperature, making burning a higher risk. You also use more energy and might lose more nutrients due to the slightly higher heat compared to a dehydrator.
Knowing When It's Ready
Regardless of the method, the garlic is fully dried when it is absolutely brittle. It should snap easily when bent and have no flexibility or moisture whatsoever. If any pieces are still soft, continue drying them.
Transforming into Powder: The Final Step
Once your garlic slices are thoroughly dried and cooled completely, it's time for the exciting transformation into powder!
- Cool Completely: Allow the dried garlic to cool to room temperature. Grinding warm garlic can lead to clumping and affect the final texture.
- Grind It Up: Your best tool for this is a dedicated spice grinder or a clean coffee grinder. A high-speed blender can also work for larger quantities, but you might need to process in smaller batches to achieve a fine powder.
- Process in Batches: Place a small amount of dried garlic into your grinder. Pulse in short bursts, shaking the grinder gently between pulses, until you reach your desired consistency. For an ultra-fine powder, you may need to grind it longer.
- Sift (Optional): For a truly uniform and fine powder, you can sift the ground garlic through a fine-mesh sieve. Any larger pieces can be returned to the grinder for another pass.
Congratulations! You’ve mastered how to make garlic powder. To further explore creative uses for your homemade seasoning, don't miss our article: Turn Excess Garlic Into Flavor: Your Homemade Powder Guide.
Storage and Shelf Life
Proper storage is essential to maintain the potency and freshness of your homemade garlic powder.
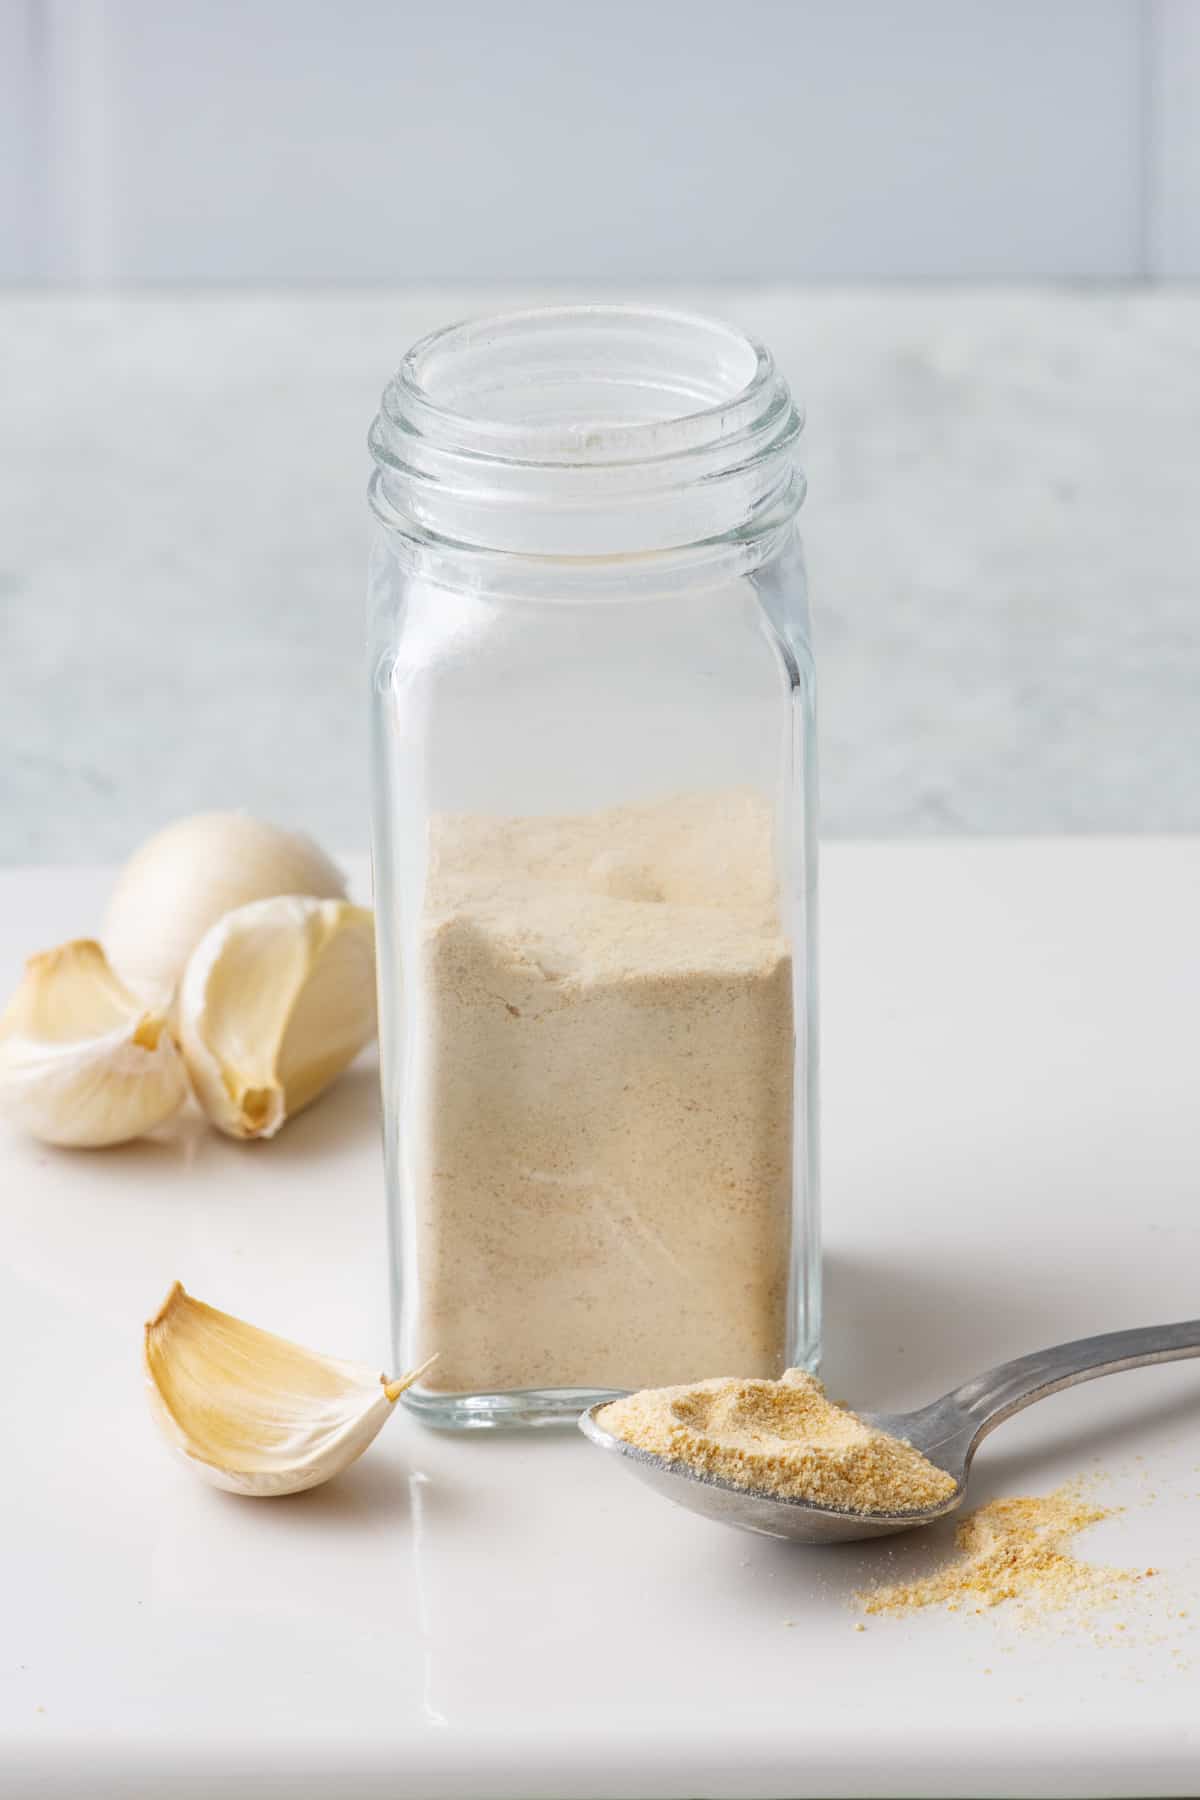
- Airtight Container: Store your finished garlic powder in an airtight glass jar or container. This prevents moisture from entering, which can cause clumping and reduce shelf life.
- Cool, Dark Place: Keep the container in a cool, dark pantry or cabinet, away from direct sunlight or heat sources (like above the stove). Heat and light can degrade the flavor and aroma over time.
- Longevity: While homemade garlic powder can last up to a year, its flavor and aroma will be strongest in the first 6-8 months. For optimal potency, try to use it within this timeframe.
- Preventing Clumping: If you live in a humid environment, you might notice some clumping. A small food-grade desiccant packet or a few uncooked grains of rice (placed in a small sachet to avoid mixing with the powder) can help absorb excess moisture.
Making your own garlic powder is a culinary game-changer. It’s an easy, rewarding process that transforms humble garlic cloves into a potent, flavorful seasoning that far surpasses anything you can buy in a store. Not only will you enjoy superior taste, but you'll also benefit from greater control over ingredients and the satisfaction of a homemade product. So, grab some fresh garlic, follow these simple steps, and prepare to taste the remarkable difference homemade garlic powder can make in your cooking!
